Rejuvenate Your Parking Lot: A Guide to Line Striping.
3/25/2024. Written By Joshua D. Bennett.
A well-maintained parking lot is more than just a place to park cars. It's a reflection of your business or property, and clear, bright lines contribute significantly to its overall appearance and safety. Over time, however, even the best-maintained parking lot lines can fade and become difficult to see. This is where line striping comes in. Line striping is the process of repainting the lines in your parking lot, and it's a crucial part of maintaining its functionality and aesthetic appeal. Here's a step-by-step guide on how to successfully stripe a parking lot or garage.

Preparation is Key.
Properly preparing your parking lot or garage for pavement marking is crucial for ensuring the longevity and effectiveness of the markings. This preparation typically involves thorough cleaning to remove dirt, debris, and existing markings, as well as repairing any cracks or potholes. A clean and smooth surface allows for optimal adhesion of the paint or thermoplastic material, resulting in clear and durable markings. Additionally, proper preparation helps to prevent premature fading, cracking, or peeling of the markings, reducing the need for frequent repainting and associated costs. By investing in adequate preparation, you can ensure that your parking lot or garage markings remain visible and functional for an extended period, promoting safety and efficient traffic flow.
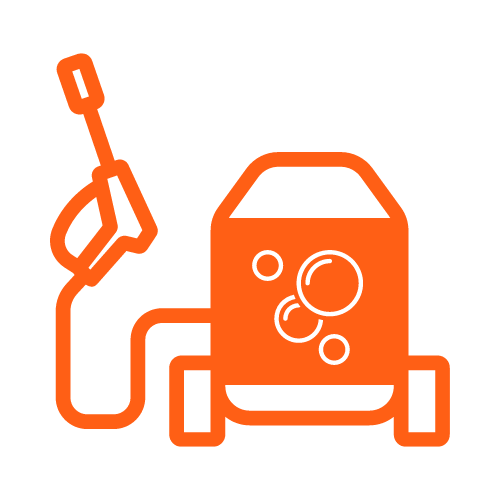
1. Clean the Surface: Before you begin, thoroughly clean the parking lot surface. This involves removing dirt, debris, and oil stains. Pressure washing is the most effective method, but sweeping and scrubbing can also work.
2. Repair Cracks and Damage: Assess the parking lot for any cracks or potholes. These need to be repaired before striping to ensure a smooth and even surface for the paint.
3. Measure and Mark: Plan your layout and measure the parking spaces, aisles, and other markings. Use chalk, lasers, or string to mark the lines before painting.
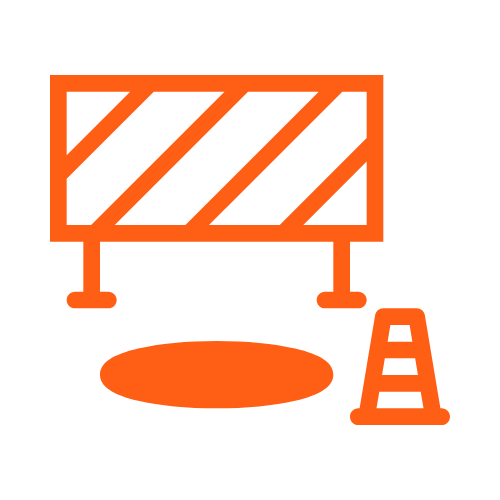
4. Mask Off Areas: Use masking tape, tarps, or cardboard to protect areas you don't want to paint, such as curbs, sidewalks, and landscaping.
SAFTEY FIRST
Remember to wear appropriate safety gear, including gloves, eye protection, and a mask when working with paint. Be mindful of weather conditions and avoid painting in enclosed spaces, direct sunlight or high temperatures.

©sarawutk via Canva.com
Make Your Mark.
Selecting the right paint and applying it properly is essential for achieving durable and effective pavement markings. The type of paint chosen should be specifically designed for pavement marking and be suitable for the expected traffic volume and environmental conditions. For instance, high-traffic areas may require more durable paints like thermoplastics, while areas with heavy rain might benefit from paints with enhanced water resistance. Proper application techniques are equally important. This includes ensuring the surface is clean and dry, using the correct application equipment, and applying the paint at the recommended thickness and temperature. Following these guidelines will help prevent premature fading, cracking, or peeling of the markings, ensuring their longevity and effectiveness in guiding traffic and promoting safety.
5. Choose the Right Paint: Select a high-quality, traffic-grade paint specifically designed for parking lots. Consider factors like durability, visibility, and drying time.
6. Apply the Paint: Use a line striping machine or a hand-held paint roller for smaller jobs. Apply the paint evenly and smoothly, following your markings.
7. Remove Masking: Once the paint is dry, carefully remove the masking tape or paper.

Finishing Touches.
Adding the finishing touches to your pavement marking project is crucial for achieving a professional and polished look. This may involve applying reflective beads for enhanced visibility at night, adding symbols or lettering for designated parking spaces, or installing wheel stops to prevent vehicles from encroaching on sidewalks or landscaping. These final details not only enhance the aesthetics of your parking lot or garage but also contribute to its functionality and safety. Reflective beads, for example, significantly improve visibility for drivers in low-light conditions, while clear and accurate parking space markings promote efficient use of space and reduce the risk of accidents. By taking the time to complete these finishing touches, you can ensure that your pavement marking project is not only functional but also visually appealing and safe for all users.
8. Inspect & Touch Up: Check for any missed spots or imperfections and touch them up as needed.
9. Let it Cure: Allow the paint to cure completely before allowing vehicles to park on the surface. This usually takes 24-48 hours.
7. Apply Additional Coats: Depending on the paint or desired finish, you may need to apply additional coats. Professional Tip: Be sure to allow each coat to dry completely before applying the next one.
Skip The Hassle… and leave it to the pro's like at PFS.
Pavement marking is a complex task that requires precision, expertise, and specialized equipment. Entrusting this job to a professional team ensures high-quality, durable markings that meet industry standards and safety regulations. At PFS we possess the knowledge and experience to select the appropriate materials, prepare the surface adequately, and apply markings with accuracy and efficiency. We utilize specialized tools and equipment, such as line stripers and stencils, to create clear, visible, and long-lasting markings. Not to mention we are insured and bonded, providing peace of mind in case of accidents or property damage.
Get your free quote today.
Learn more about our other related services below.